Friday, July 18, 2014

Assignment #4

4-1 Black and White
Being that I took a picture of a black and white item (I wanted high contrast) I think my focus in regards to shades of gray should be the keys. They are not stark white. If you look at the light hitting the keys to the right you can see brighter areas. Also, The reflection in the piano has details where gray needs to be attended too. Yes, that is a second piano in my living room. 

4-2 Bracketing


I like this picture because it has a warm quality.


4-3 Back lighting

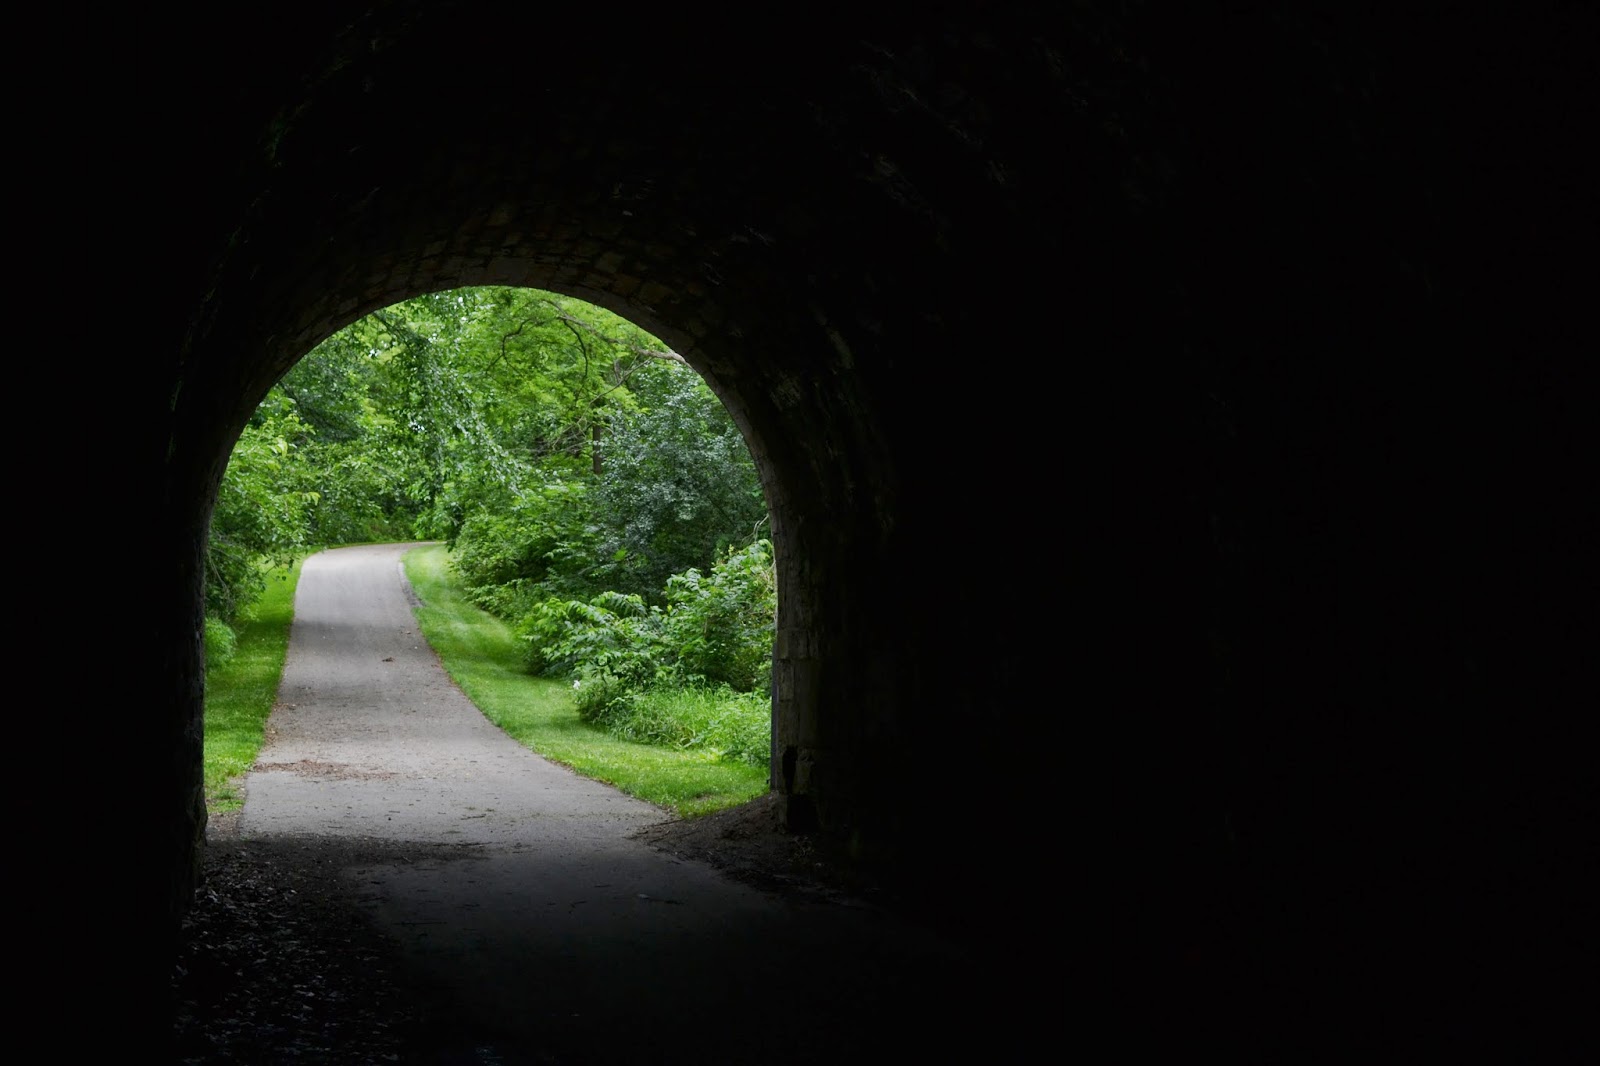
4-4 High Contrast
The first two pictures show high contrast and evening it out so all is visible. I have added the third picture because it frames the focal point but you can still see texture in the tunnel walls enhancing the composition. Plus it makes the for a more pleasing picture not seeing the patch jobs on the tunnel.
1/60; f6.3
1/60; f4.5 flash
1/10; f6.3
4-5 Exposure Compensation
+2

+1

0

+1

+2

4-6 Lighting (incandescent, daylight, florescent)

4-7 Sunset
I played with the exposure time to finally get this picture. I like the way the clouds create a watercolor effect to contrast the sharp green of the fields. 

4-8 Moon 
This moon shot was taken using a little table and a boogie board to prop up my camera. I also used the suggestion from a classmate to use the timer. 


4-9 Night shot without flash
Will submit later


Extra Shots


Friday, July 11, 2014

Assignment #3

1. Low resolution, high resolution


4608 x 3072


2304 x 1536

2. Same object, different shutter speeds

1/30; f/11

1/10; f/11
3. Different shutter speeds of object in motion
1/100

1/15

4. Foreground standout, all in focus
1/10; f/9

1/10; f/5


5. Zoom of lighted object at night
Holding as steady as possible

Propped the camera on a table turned on its end due to missing tripod. 

6.Sharp, sharp/not sharp
f5.6/; 1/30

1/60; f/11


7. Convey motion 


8s; f4.8
8. Moving objects, one at night, one in light
1/100; f/5


Extra Credit
1. Mistake: Using my dogs as subjects. In trying to take two pictures of the same object my dogs kept leaving their post when my husband walked in carrying the chicken he had just grilled.
Lela
What? CHICKEN!!!!


Atticus
2. In trying to convey motion I started out with a super slow shutter speed and intentionally moved. If you look hard you can tell that Lela is a Golden Retriever.
1/3; f/13

3. Practice writing words. Brenda was trying to spell love and ended up with hell. 


4. I struggle with finding the right balance of aperture and shutter speed.  


Thursday, July 3, 2014

Assignment #2

Have you ever wished you could get a more snug fit in the heel of your running shoe? That last hole at the top is designed to allow you to adjust your laces so you can tighten up your shoe for a more comfortable fit. This pictorial tutorial will show you how to use the runner’s lace for a better fitting heel.

1.) Lace your shoes as you normally would up to the second to the last hole.

2.) Instead of crossing over to the other side of the shoe, make a loop by going through the same hole on the same side as the second to last hole of your shoe.

3) Make another loop on the other side.


4) Next, thread the ends of the laces through the loops you just made on both sides of your shoes.


5) Tighten up your shoes by pulling on the laces to adjust the fit and feel.


6) Once you find a comfortably snug fit, tie your shoes as you normally would.

Here is an up-close look at your handy work.


Now you are ready to hit the pavement with a comfortable fit in your shoe.